How to Install Vertical Window Blinds
Installing vertical window blinds is a beginner-friendly DIY project that requires only a few basic tools: a drill, a tape measure, a pencil, and a screwdriver. The best results come down to carefully measuring your windows and getting the correct blinds, properly placing your brackets, snapping the headrail into position, and attaching the vanes.
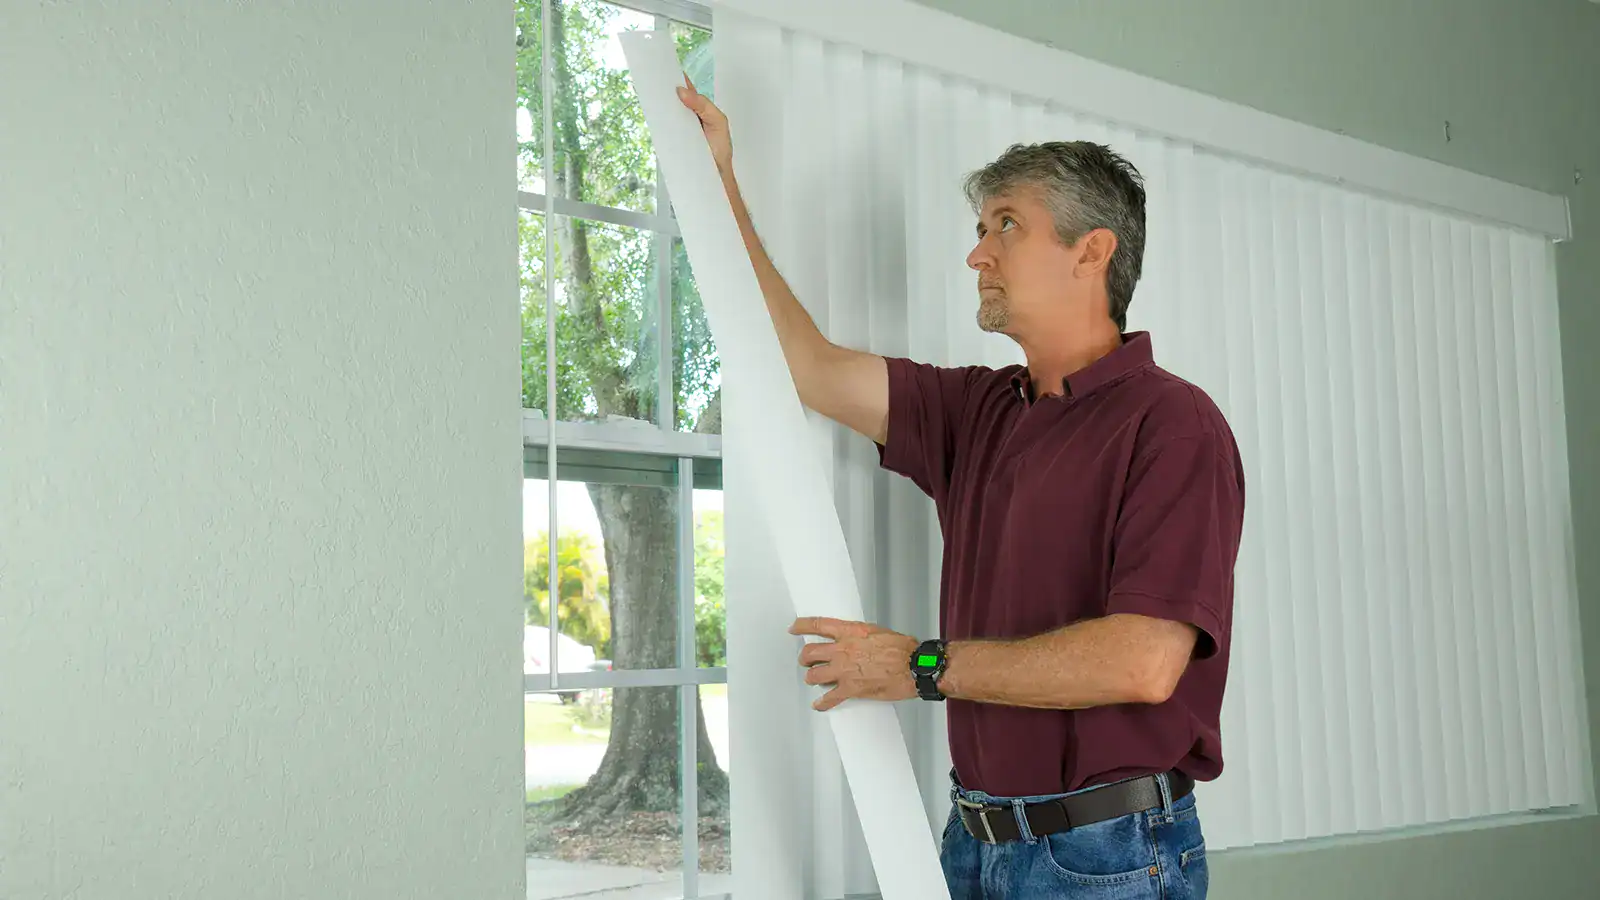
Take time and care when installing your blinds to achieve a clean, professional look.
Why Vertical Blinds Still Earn Their Keep
Vertical blinds may not scream “design trend,” but they quietly solve many problems, especially for large windows and sliding glass doors.
Here are some of the advantages of vertical blinds:
- Excellent light control without fully opening the blinds.
- Strong privacy with a simple twist of the wand.
- Ideal for wide openings and patio doors.
- Easy to maintain, and even easier to repair one vane at a time.
Measure First, Shop Smart
Accurate measurements are essential for ensuring your vertical blinds fit and function properly.
Start by measuring the width and height of your window or door frame using a steel tape measure. Write everything down in inches, rounding to the nearest 1/8 inch.
Before buying, double-check your numbers. This is the easiest mistake to make, but also the most annoying and expensive to fix.
Inside Mount (clean, built-in look):
- Measure width at the top, middle, and bottom → use the narrowest
- Measure height on the left, center, and right → use the longest
Outside Mount (more coverage, better light blocking):
- Add 3–4 inches to each side of the window width
- Measure height from where you’ll mount the headrail down to your desired length
Off-the-Shelf vs. Custom Vertical Blinds: What’s the Difference?
Now that you have your measurements, the next decision is the type of blinds to buy, because “fits your window” and “fits your window well” aren’t always the same thing.
Off-the-Shelf Blinds (Ready-Made)
These are standard-size blinds you can grab right off the shelf. Think of these as the “grab-and-go” option: fast, affordable, and good enough for many spaces.
Best for:
- Standard window sizes
- Quick, budget-friendly updates
- Projects where a near-perfect fit is perfectly fine
Pros:
- Lower cost
- Available immediately
- Easy to return or exchange
Cons:
- Limited sizing options
- May leave small gaps along the sides or bottom
- Less ideal for large windows or sliding doors
Custom Vertical Blinds (Made-to-Measure)
Best for:
- Sliding glass doors and wide windows
- Non-standard or oversized openings
- A more polished, tailored look
Pros:
- Precise fit for better light control and privacy
- More choices in materials, colors, and features
- Cleaner, more finished appearance
Cons:
- Higher cost
- Longer lead time
- Typically non-returnable
Which Should You Choose?
- Go off-the-shelf for speed, simplicity, and savings.
- Choose custom for a better fit, especially on larger or high-visibility windows.
If your measurements require real attention to detail, custom is usually worth the wait.
Tools & Materials
Unbox your blinds, confirm all parts are included, and gather your tools:
- Tape measure
- Pencil
- Power drill with drill bits
- Phillips-head screwdriver
- Level
- Step ladder
- Drywall anchors (if not drilling into wood studs)
Step-by-Step Installation Process
Step 1: Mark the Bracket Locations
For inside mounts, measure a few inches in from each side of the top frame and mark your screw holes.
For outside mounts:
- Mark a point 2–3 inches above the window trim.
- Use a level to draw a straight guideline.
- Space brackets evenly across the width.
- Add center supports for wider blinds.
If your brackets aren’t level, your blinds won’t be either.
Step 2: Drill the Pilot Holes
- Drill pilot holes at each mark.
- If you’re drilling into wood, you’re good to go.
- If you’re drilling into drywall, insert wall anchors. Tap the anchors in until they sit flush with no gaps or wobbles.
Step 3: Secure the Brackets
Align each bracket with the holes and drive in the screws.
- Tighten until snug (not over-tightened).
- Check alignment with your level again.
Step 4: Mount the Headrail
- Hook the front of the headrail into the bracket.
- Push the back upward until it snaps into place.
- Listen for it to click in. Give it a quick tug; if it moves, it’s not fully secured.
Step 5: Attach the Vanes
Before clipping in the vanes:
- Space the carriers evenly using the wand or cord.
- Make sure all clips face the same direction.
- Then attach each vane until it clicks into place. A gentle tug confirms it’s secure.
Step 6: Test the Operation
Run the blinds through their full range of motion:
- Rotate the vanes.
- Slide them open and closed.
- Check for smooth, even movement.
Fix any sticking now—this is the best time to get your blinds working properly.
Enjoy the Upgrade
Installing vertical blinds is one of those projects that delivers immediate payoff with better light control, improved privacy, and a cleaner look.
When you take the time and care, your blinds will look like they’ve been installed by a professional. Not bad for a project that mostly involves measuring, drilling, and snapping things into place.
FAQs: Installing Vertical Blinds
Q: How long does it take to install vertical blinds?
Most installations take 45–60 minutes per window.
Q: Can I install vertical blinds without a drill?
You can, but a drill makes the job faster, easier, and more secure.
Q: Do I need wall anchors for vertical blinds?
Yes. If you’re mounting into drywall without a stud, you’ll need anchors.
Q: How do I shorten vertical blind vanes if they are too long?
PVC or vinyl vanes can often be trimmed; fabric vanes usually need hemming. Measure carefully before cutting.
Q: What is the difference between an inside and outside mount?
Inside mount sits within the frame for a streamlined look. Outside mount installs above the frame for better coverage and light blocking.
Q: Why won’t my vertical blinds rotate properly?
A misaligned or damaged carrier is usually the issue. Try resetting the stems or checking for obstructions.
Q: How many brackets do I need for my vertical blinds?
Two for smaller windows; three or four for wider spans like patio doors.
Q: Can vertical blinds be mounted to the ceiling?
Yes. Ceiling mounts are a popular option for sliding glass doors or room dividers. You will need specific ceiling mount brackets, which usually attach directly to the top of the headrail.