How to Hang Blackout Curtains for the Best Results
Does your neighbor keep their porch light on all night? Does a streetlamp shine through your window like it’s auditioning for a spotlight in your bedroom? Add in those hot afternoon rays from south-facing windows, and sleep (and comfort) suddenly feels impossible.
But there is a solution to help fix those annoyances: blackout curtains. Hanging blackout curtains isn’t hard, but you need the right size, curtain rod, and some patience during installation. Done right, they’ll give you the darkness and energy savings you’ll appreciate.
Let’s go step by step so you can hang blackout curtains like a pro (without the stress).
Step-by-Step Installation Guide
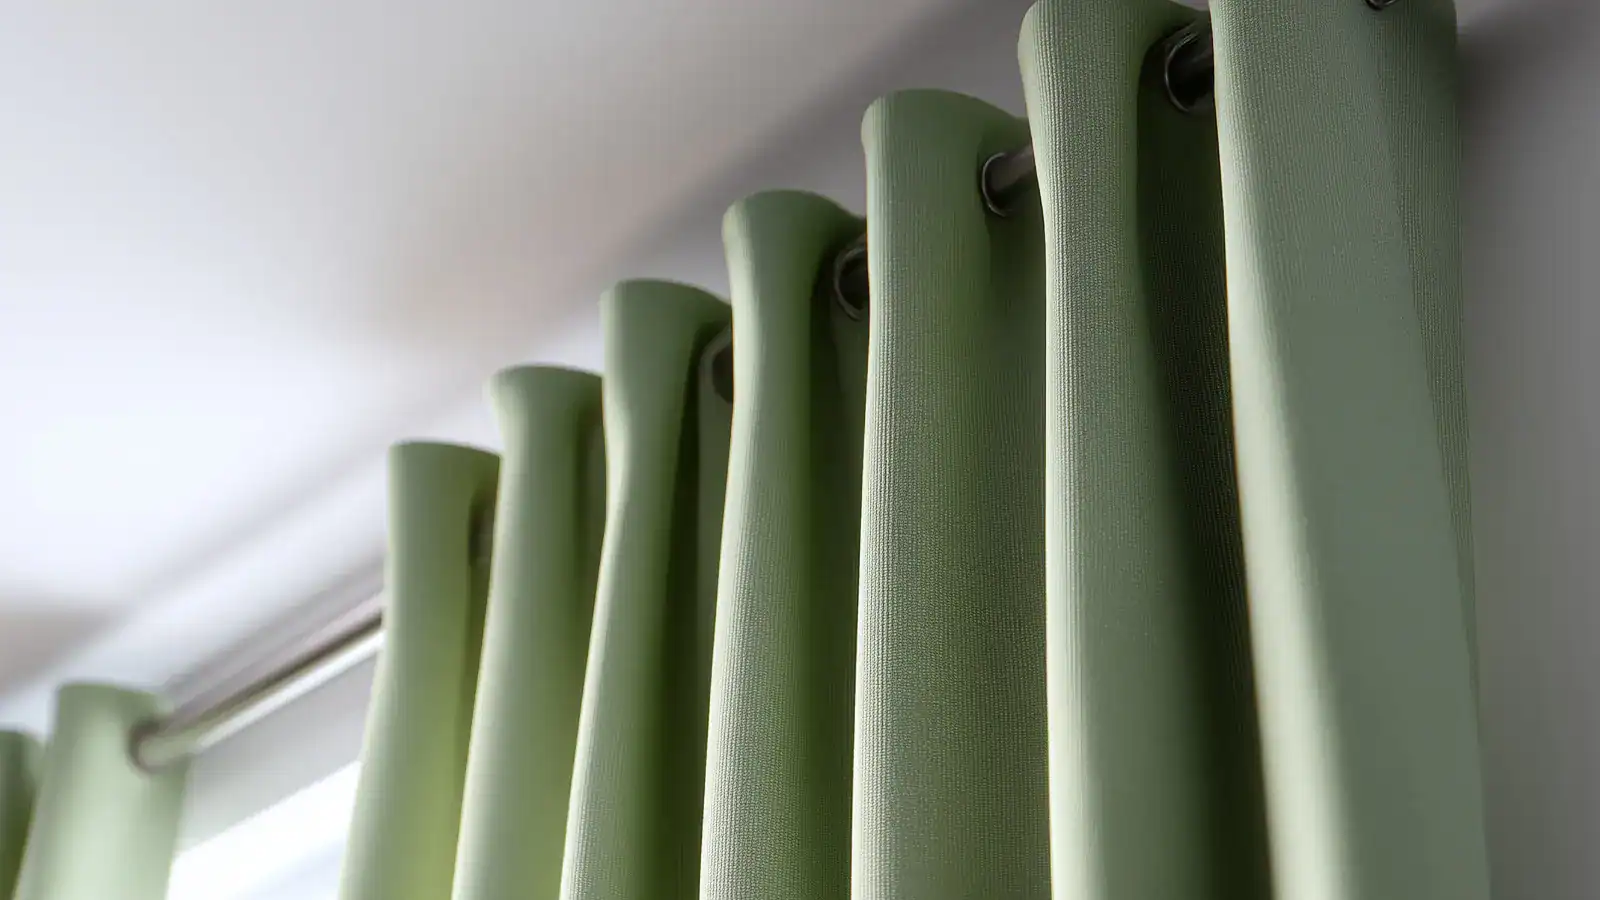
1. Pick the Right Curtains and Rod
Not all curtains are created equal. Look for ones labeled “100% blackout” instead of “room darkening.” Room darkening curtains will dim the light, but if you want pitch black, you need true blackout.
A few tips:
- Color matters. Dark fabrics absorb more light, while lighter ones are better at reflecting heat. Light-colored curtains with a dark backing strike the perfect balance if you live in a warmer climate.
- Measure before you buy. Your curtains should extend about 4–6 inches past the sides of your window and hang 4–8 inches below the sill. The extra coverage keeps light from sneaking in.
- Don’t skimp on the curtain rod. Blackout curtains are heavier than regular ones, so cheap rods can sag or pull away from the wall. Get a wraparound rod for greater coverage—it curves at the ends so the curtains sit flush with the wall, sealing out even more light.
2. Gather Your Tools
You don’t need a complete workshop, just a few basics:
- Drill and bits
- Level
- Tape measure, preferably metal, for more accurate measurements
- Pencil
- Screwdriver
- Stud finder (optional but helpful)
- Wall anchors (for when studs aren’t in the right spot)
3. Measure and Mark
- Measure and mark the places for the pilot holes, which you will use to hang the rod brackets.
- Grab your level and make sure your marks line up. Uneven curtains will be one of the first things you’ll notice when you admire your work.
- Hang the rod higher and wider than the window. Mounting it 4–6 inches above the frame (or closer to the ceiling if you want a dramatic look) keeps light from leaking in at the top.
- Extend the rod at least 6–8 inches past each side of the frame. This way, your curtains can overlap the edges instead of barely covering the glass.
- Use a wraparound rod if the window frame is close to the wall.
4. Install the Rod
- Drill pilot holes where you marked.
- Use screws for studs, anchors for drywall.
- Mount the brackets, double-check with the level, then put up the rod.
- Give the rod a little tug test. You want the brackets to be solid enough to handle heavy fabric and daily use.
5. Hang Your Curtains
Slide your curtains on the rod (or attach rings if that’s what you’re using) before mounting them on the brackets—it’s much easier than wrestling with the fabric once the rod is up.
Keep in mind:
- To block light, overlap the curtain panels in the middle by a couple of inches.
- If there is a support bracket in the middle of the rod, consider installing Velcro strips on the curtain edges if you have significant light leaks.
- Let the curtains touch the floor or hang several inches below the windowsill to close off bottom gaps.
6. Check for Light Leaks
Now check your curtains out—close them in the middle of the day and see how dark the room gets. Minor fixes can significantly affect how well your blackout curtains work.
If you notice streaks of light:
- Add wraparound brackets or extend your rod a little more.
- Use Velcro strips to secure the curtain edges to the wall.
- Install a valance or cornice board across the top.
Bonus: Energy Savings
Aside from better sleep, blackout curtains also help your wallet. The Department of Energy says window treatments can reduce heat gain by up to 77%. That means cooler summers, warmer winters, and lower utility bills.
FAQs
Q: How wide should my curtains be?
Ideally, 1.5–2 times the width of your window, so they look full when closed.
Q: Can I use my old curtain rod?
Sure—if it’s sturdy enough. Give it a shake and a tug. If it feels flimsy, upgrade.
Q: Do blackout curtains block sound, too?
Not completely, but heavy fabric does help muffle outside noise a bit.
Q: What’s the best way to clean blackout curtains?
Most blackout curtains can be machine-washed on a gentle cycle with cold water. However, check the manufacturer’s instructions, as some require professional cleaning to maintain their blackout coatings.
Q: Do blackout curtains work with all window types?
Blackout curtains work best with standard rectangular windows. Unusual window shapes may require custom solutions or additional light-blocking treatments.
Q: How long do blackout curtains typically last?
Quality blackout curtains can last 5–10 years with proper care. UV exposure and frequent washing may degrade blackout coatings over time.