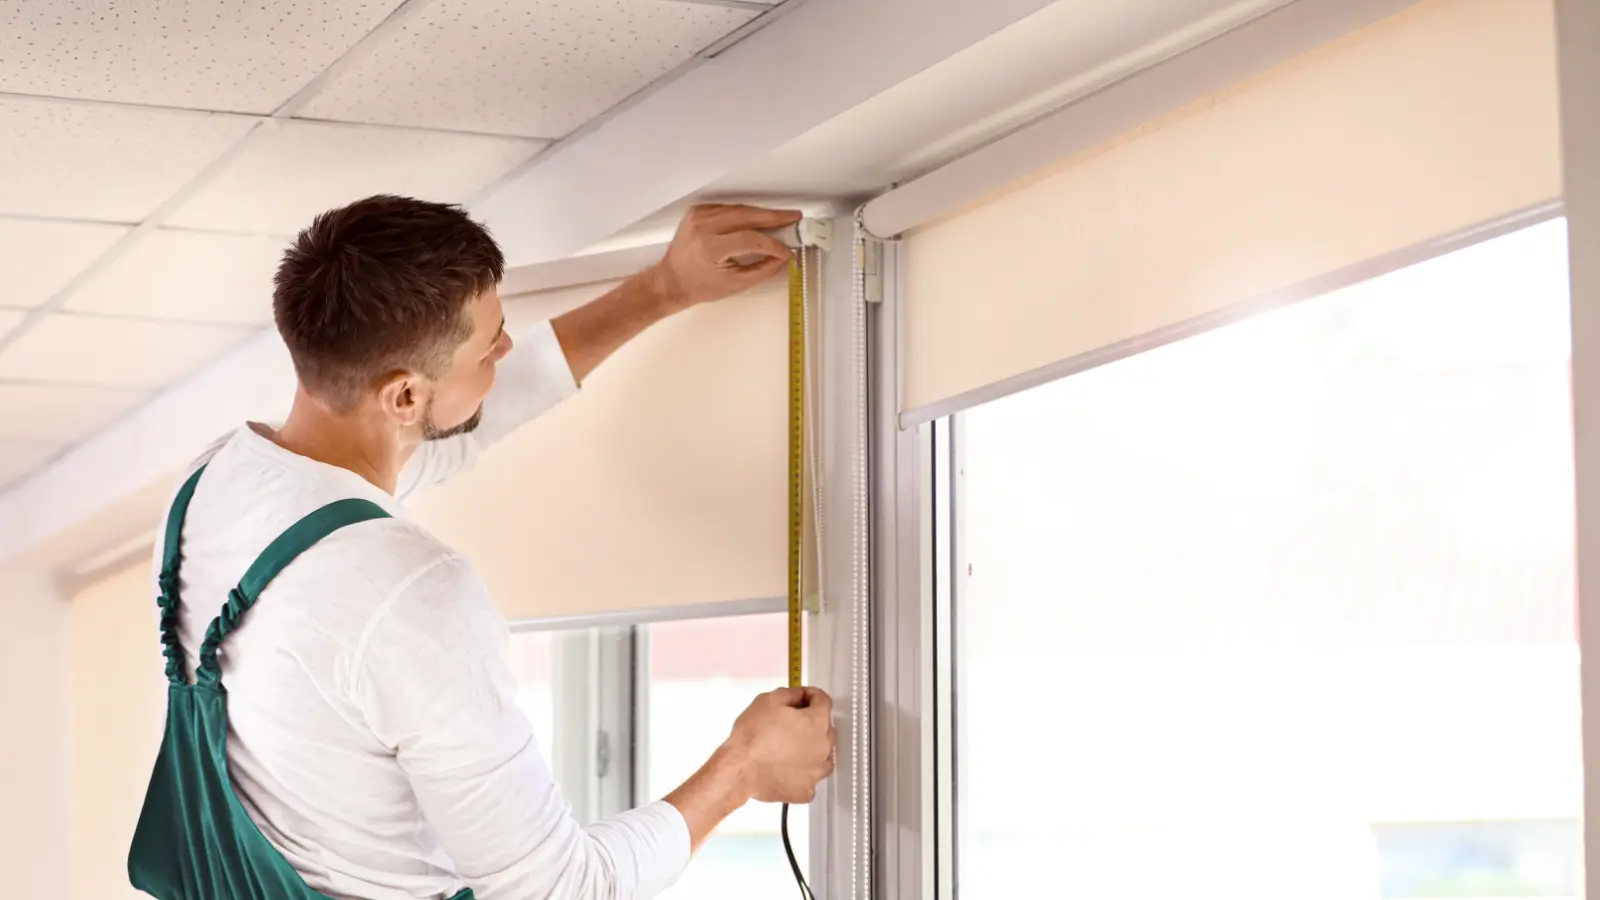
How to Fix a Roller Shade to Make It Like New

The shade goes up; the shade goes down. Unless it doesn’t.
Few things are as frustrating as a roller shade that won’t roll.
It may stick somewhere in the middle or snag at various points as you raise and lower it. So then the question arises: will you have to replace it?
That’s no big deal if you bought el cheapo shades, but even top-quality shades can develop a hitch in their giddy-up. What then?
The good news is that with a little time and effort, you can fix your roller shade to make it work like new.
How a Roller Shade Works
A roller shade has:
- A hollow tube
- A material wrapping around the tube
- A spring mechanism within
- A ratchet and pawl
- A string that allows you to raise and lower the shade
When you pull down on the string, it rotates the ratchet. This disengages the pawl from the ratchet’s teeth, allowing you to lower the shade.
To raise the shade, you pull it down just a smidgeon until it locks. Then, gently tug downwards once again, releasing the lock.
Tools You’ll Need
- Screwdriver
- Pliers
- Drill (optional)
- Level (optional)
- Measuring tape
- Pencil for marking
- Replacement springs (if required)
- Replacement brackets (if necessary)
- Ladder or step stool (for reaching high shades)
- Cleaning cloth or brush (for removing dust and debris)
Determining What’s Wrong
Here are some of the most common issues with roller shades:
- The string is tangled or damaged.
- The spring mechanism is broken or worn out.
- The brackets are loose or missing screws.
- The fabric is not rolling evenly, causing it to bunch up or skew.
- The ratchet mechanism is jammed or misaligned.
- The shade doesn’t lock into place and continuously rolls up.
- The roller tube is bent or distorted, preventing smooth operation.
- The pawl is worn and slipping from the ratchet teeth.
Repairs for Common Issues
- Untangle or replace the string
- Replace the spring mechanism
- Tighten or replace the brackets
- Adjust the fabric alignment
- Realign or unjam the ratchet
- Fix the locking mechanism
- Straighten or replace the tube
- Replace a worn pawl
1: Restringing a Shade
- Is the string tangled, frayed, or snapped? If it’s only tangled, carefully untangle it and test the shade’s function. If damaged, proceed to the next step.
- Fully extend the shade and locate the brackets holding it in place. Carefully remove these brackets, then gently pull the shade off the mounting.
- Once the shade is down, identify how the string is attached to the roller and spring mechanism. This may require opening or disassembling a portion of the hollow tube.
- Carefully unloop and remove the old string from the mechanism. Remember how it’s threaded so you can attach the new string the same way.
- Cut a new length of string that matches the original cord. Thread it through the mechanism, replicating the original path. Secure it firmly to prevent slipping.
- Before reassembly, verify that the new string interacts correctly with the ratchet and spring mechanism. Pull it gently to simulate raising and lowering the shade.
- Place the roller shade back into its brackets. Align and secure it, and tighten any loose screws
- Test the roller shade by raising and lowering it multiple times to ensure smooth operation. Adjust as needed.
2: Replacing a Spring Mechanism
- Remove the roller shade from its brackets.
- Lay the shade on a flat, clean surface for easy access to the spring mechanism inside the roller tube.
- Open the end cap or disassemble the portion of the tube that houses the spring mechanism.
- Identify the spring mechanism and examine it for damage or wear. Compare it with the new spring mechanism to ensure compatibility.
- Carefully detach the old spring mechanism from the roller tube. Note its position and orientation for proper installation of the replacement.
- Install the new spring mechanism by inserting it into the roller tube in the same position and orientation as the old one.
- Reassemble the roller tube by reattaching the end cap or any other parts you removed during disassembly.
- Hang the roller shade on its mounting brackets. Ensure it’s securely clipped or screwed into place.
- Test the roller shade and adjust any tension settings if necessary.
3: Tightening or Replacing Brackets
Tightening Loose Brackets
- Tighten any loose screws in the existing brackets. Secure them firmly to prevent any unwanted movement of the roller shade.
- If screws are missing, replace them with screws matching others in the assembly.
Replacing Broken Brackets
- Purchase replacements compatible with your roller shade.
- Remove the roller shade from its mounting.
- Unscrew the damaged bracket. Clear away any debris or damage that may interfere with the new bracket installation.
- Position the new bracket in the same place, ensuring it’s level. Mark the screw holes with a pencil.
- Drill pilot holes to guide the screws and prevent wood splitting.
- Secure the new bracket to the wall or window frame, and rehang the roller shade.
4: Adjusting the Fabric Alignment
- Take the roller shade down from its mounting brackets.
- Carefully pull or shift the fabric on the roller tube to align it evenly. You may need to unroll and re-roll it to correct alignment.
- Place the shade back onto the brackets. Position it evenly with no slant or tilt.
- If the fabric still doesn’t align correctly, repeat the process, making minor adjustments each time.
5: Realigning or Unjamming the Ratchet
- Take the roller shade down from its brackets.
- Determine if the ratchet is jammed or misaligned, and look for obstructions.
- If necessary, open or disassemble the section of the roller tube where the ratchet is located.
- Remove any debris or objects blocking the ratchet. Use a brush or cloth to clean the area thoroughly.
- Carefully reposition the ratchet mechanism so that it aligns correctly with the pawl. The ratchet teeth should be unobstructed so that they engage properly.
- Once the ratchet is correctly aligned, reassemble the roller tube. Securing the end cap and other disassembled parts.
- Reattach the roller shade to its brackets.
- If the ratchet still malfunctions, repeat the steps, making small adjustments.
6: Fixing the Locking Mechanism
- Remove the roller shade from its brackets.
- Locate the locking mechanism within the roller tube. This is housed near the end of the tube.
- Inspect the locking mechanism for signs of wear, damage, or debris that may obstruct its function.
- Clean the area thoroughly with a brush or cloth. Ensure all parts move smoothly without obstruction.
- Test the locking mechanism by manually engaging and disengaging it. Identify any sticking points or misalignment.
- If necessary, adjust the position of the locking components to ensure they align correctly and engage securely.
- Lubricate the locking mechanism with a silicon-based lubricant. Avoid over-lubrication, which can attract dust.
- Once the mechanism functions correctly, reassemble the roller tube.
7: Straightening or Replacing the Tube
Straightening a Bent Tube
- Place the roller on a flat, stable surface.
- Gently press the bent area, manipulating it back to a straight position. Take care to prevent further damage to the tube.
- Use a level or straight edge to verify the tube’s alignment. Continue adjusting until the tube is straight.
Replacing a Damaged Tube
- Slide the fabric off the existing tube, being cautious not to damage the material.
- Measure the old tube to ensure the new one matches in length and diameter.
- Purchase a replacement tube compatible with your roller shade specifications.
- Carefully attach the fabric to the new tube, aligning it evenly.
8: Replacing a Worn Pawl
A pawl is a pivoted lever or latch that works with a ratchet wheel. It engages with the ratchet’s teeth, allowing motion in one direction while preventing backward movement. To replace it:
- Remove the roller shade from its brackets.
- Locate the pawl within the ratchet assembly inside the tube.
- Open the section of the roller tube that houses the ratchet and pawl, keeping all components intact.
- Examine the pawl for signs of wear or damage. Compare it to your new pawl to verify compatibility.
- Detach the worn pawl, noting its position and orientation for accurate replacement.
- Install the new pawl. Ensure the ratchet teeth and pawl engage smoothly.
- Reassemble the roller tube and rehang the roller shade.
FAQs: Fixing a Roller Shade
Q: How much should the replacement cord cost?
High-quality replacement cords cost $5 to $15. Always choose durability over cheap alternatives.
Q: Can I use any cord for restringing?
No, use a cord designed for window shades to ensure proper functionality and longevity.
Q: What if the shade still doesn’t work after restringing?
Double-check the threading and test again. If problems persist, there may be an underlying issue requiring professional assessment.
Q: How often should roller shades be maintained?
Every 6 months, including dusting, lubrication, and checking for signs of wear or mechanical failure.
Q: Can roller shades be repaired if the fabric is damaged?
Minor fabric tears can often be repaired with fabric adhesive. For more extensive damage, consider replacing the fabric or consulting a professional.
Q: What’s the best way to clean roller shades?
For regular dusting, use a dry, soft brush or microfiber cloth. Use a mild detergent solution for deeper cleaning, but only if the fabric is suitable for wet cleaning.
Q: Is it better to repair or replace old roller shades?
That depends on the extent of the damage and the cost-effectiveness of repairs. If a shade has multiple failures, replacement is a more practical option.
Q: How can I prevent the roller shade from rolling unevenly?
Install the roller shade evenly on the brackets. Regularly check and adjust the tension to prevent one side from rolling faster than the other.
Q: What should I do if the roller shade mechanism makes noise?
Check for debris or dirt in the mechanism. Clean and lubricate the components with a non-greasy lubricant, such as silicone spray, to reduce friction and noise.


