11 Classy DIY Window Treatments on a Budget
Everything you own is second-hand.
Second-hand sofa, second-hand car, and even the clothes you wear are thrift shop veterans.
But second-hand curtains can be a tough proposition, and if you manage to find them, will they fit? Or match your second-hand boho decor?
Here, ironically, you’re in luck because it’s much easier to craft classy DIY window treatments than you might think.
Here are a few ideas to get you started:
1. No-Sew Drop Cloth Curtains
Materials Needed
- Drop cloths
- Curtain rings with clips
- Tension curtain rod
Color-neutral drop cloths turned into curtains can complement virtually any decor. Clip the drop cloths to curtain rings and slide them onto a tension rod. That’s it!
Add ribbon or decorative trim along the edges to elevate the look — a simple touch that can give your DIY curtains a custom, high-end feel.
Plus, they’re machine washable, making them a practical choice for families with children or pets.
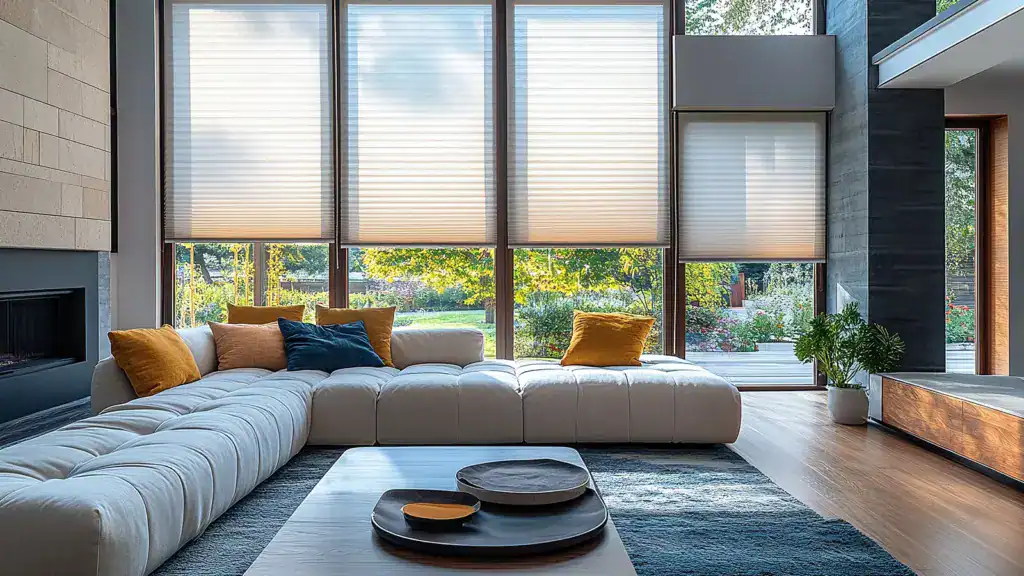
2. Bamboo Shades with a Twist
Materials Needed
- Inexpensive bamboo shades
- Fabric of your choice
- Fabric glue
To personalize bamboo shades, glue a strip of fabric along the top and bottom edges. This adds color and texture, making the shades a focal point in your room.
This project is quick and straightforward, yet it delivers a big impact. The fabric borders allow you to incorporate patterns or colors without overwhelming the space.
3. Stenciled Roller Shades
Materials Needed
- Plain roller shades
- Stencils
- Fabric paint
- Foam brush
Plain old roller shades can be dull unless you invest in high-end fabrics, which defeats the point of the budget exercise.
To spruce up ordinary el cheapo shades, choose a stencil design that matches your decor, and use fabric paint to apply the pattern to the roller shades.
Stenciling offers endless possibilities for customization. Whether you prefer a bold geometric pattern or a delicate floral design, you’ll surely find a stencil that speaks to your style.
4. DIY Roman Shades
Materials Needed
- Fabric of your choice
- Mini blinds
- Fabric glue
- Hot glue gun
Transform old mini blinds into beautiful Roman shades with this clever DIY project. Remove the slats from the blinds, leaving only a few for structure. Attach your chosen fabric to the blinds using fabric glue and a hot glue gun. The result is a sophisticated window treatment that’s functional and stylish.
This project repurposes old mini blinds, making it an eco-friendly and budget-friendly option. The finished product looks professionally made, yet it’s entirely a DIY creation.
5. Tie-Up Curtains
Materials Needed:
- Fabric of your choice
- Ribbon or fabric strips
- Sewing machine (optional)
Tie-up curtains add a charming, casual touch to your windows. Hem the edges of your chosen fabric (or leave them raw for a more relaxed look) and attach ribbon or fabric strips to the top. Tie the fabric to create a gathered effect that softens your windows.
These curtains are perfect for kitchens, bathrooms, or any room that needs whimsy and character.
Tie-up curtains are incredibly easy to make and require minimal sewing skills. The gathered fabric creates a soft, inviting ambiance.
- Faux Roman Shade Valance
Materials Needed:
- Fabric of your choice
- Tension rod
- Hot glue gun
Roman shades without the fuss! Cut your fabric to the desired dimensions, then fold and glue it to create the illusion of folds. Attach the finished valance to a tension rod and hang it above your window.
The faux valance provides a polished, tailored look without the need for complex mechanisms.
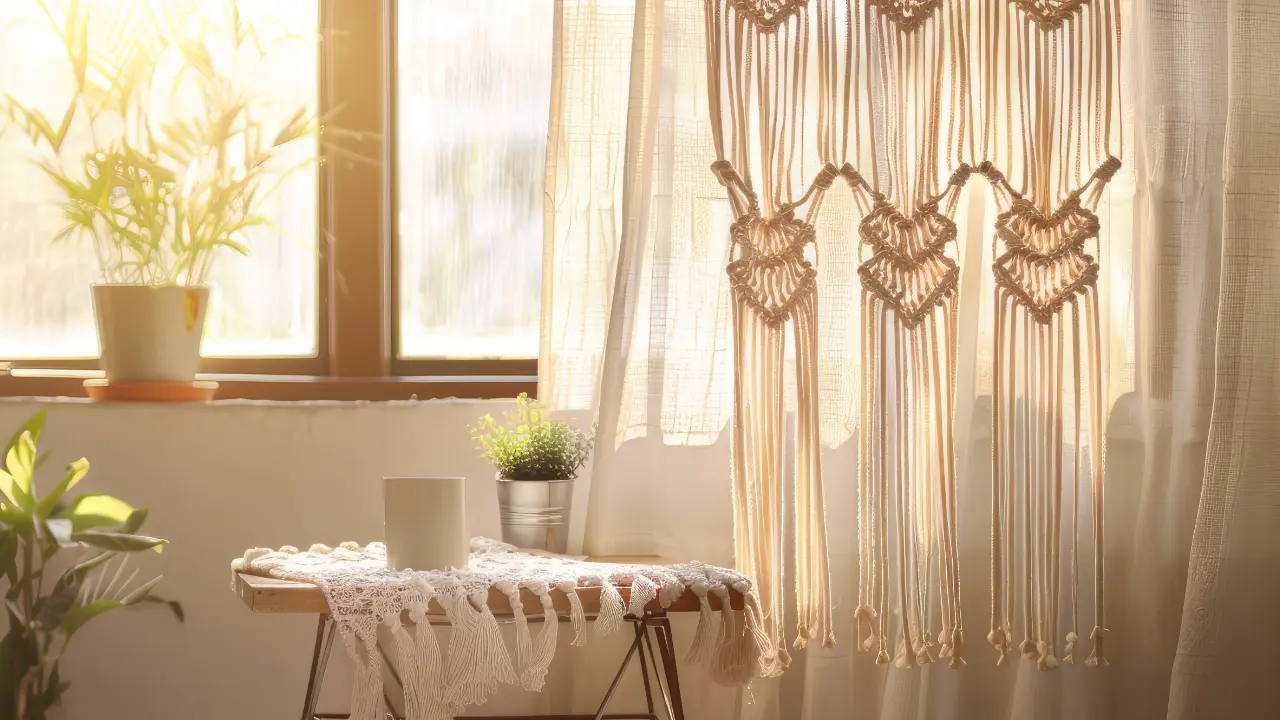
7. Macramé Curtain
Materials Needed
- Macramé cord
- Wooden dowel or curtain rod
- Scissors
Remember when everyone did macramé, or so it seemed? Maybe you’re too young for that, but every ’70s hanging plant was suspended by a macramé contraption.
While less common today, macramé is still a viable option for a uniquely elegant window treatment. It’s also an excellent way to add texture and visual interest to your space.
To create a macramé curtain, attach the cords to a dowel or curtain rod and start tying them into patterns. You can make the strands as long or short as you like, depending on how much coverage you want. The beauty of this DIY project lies in its imperfection—no two knots will be exactly alike.
8. Shower Curtain Turned Window Treatment
Materials Needed
- Shower curtain
- Tension rod or curtain rod
Cut a shower curtain down to size and hang it with a tension rod to repurpose it into a stylish window treatment. Shower curtains come in various colors, patterns, and textures, giving you unlimited design options. If you don’t have a spare shower curtain, check out thrift stores or clearance sections.
9. Painted Curtains
Materials Needed
- Plain curtains
- Fabric paint
- Paintbrushes or stencils
Use stencils or freehand designs to transform plain curtains into a work of art.
Painted curtains are ideal for children’s rooms, playrooms, or any space you want to make a bold statement.
10. Beaded Curtain
Materials Needed
- Beads of your choice
- String or fishing line
- Wooden dowel or curtain rod
String the beads onto the fishing line or string and attach them to a wooden dowel or curtain rod. The result is a playful and eye-catching window treatment that’s sure to be a conversation starter.
The shimmer and movement of the beads create a dynamic and visually arresting effect.
- Embroidered Sheer Curtains
Materials Needed
- Sheer curtains
- Embroidery floss
- Embroidery hoop
- Needle
There was a time, not long ago, when every homemaker embroidered. Now, you can find a plethora of free embroidery patterns online, so it’s easy enough to acquire the skill.
Use an embroidery hoop to hold the fabric taut, and stitch your chosen design with embroidery floss.
Whether you embroider a simple design or a more intricate pattern, your curtains will have an artisanal quality that sets them apart from store-bought alternatives.
FAQs: DIY Window Treatments
Q: How do I choose the right fabric for my DIY window treatments?
Consider the purpose of the window treatment and the room it’s in. Heavy fabrics for bedroom curtains block light and provide privacy; lighter fabrics in living rooms allow natural light to filter through.
Q: Can I make these window treatments if I don’t sew?
Many of these projects require no sewing at all. Basic sewing skills will suffice for those who do, and there are always no-sew alternatives.
Q: How do I ensure my DIY window treatments look professional?
Take your time and pay attention to details like measurement and finishing edges. Quality materials and tools can also make a big difference in the final result.
Q: What’s the best way to measure for window treatments?
Start by measuring the width and length of your window frame, accounting for hardware and any extra length for pooling on the floor, if desired. Always double-check measurements to avoid mistakes.
Q: Can I use recycled materials for DIY window treatments?
Absolutely! Old tablecloths, bed linens, or fabric scraps can be transformed into beautiful window coverings.
Q: How do I care for DIY window treatments?
Depending on the materials, you might need to dust, vacuum, or hand wash them. Follow care instructions for any special fabrics or paints you’ve used.
Q: What types of paint are suitable for curtains?
Look for fabric paints that are washable and remain flexible after drying. Acrylic paints can also work well if you aim for a stiffer effect. Always test on a small fabric section first.
Q: How can I add trim or embellishments to my curtains?
Use fabric glue or sew them onto the curtain edges. Experiment with placements to see what best complements your decor.